Now that we’ve eased into a new year, we thought it would be a good time to get back to the basics of organizing. I sometimes take for granted what we do every day and assume everyone knows the “secret sauce” to a tidy space!
Today, I’m sharing my best tips on the foundational steps of getting organized to help you reach your goals this year.
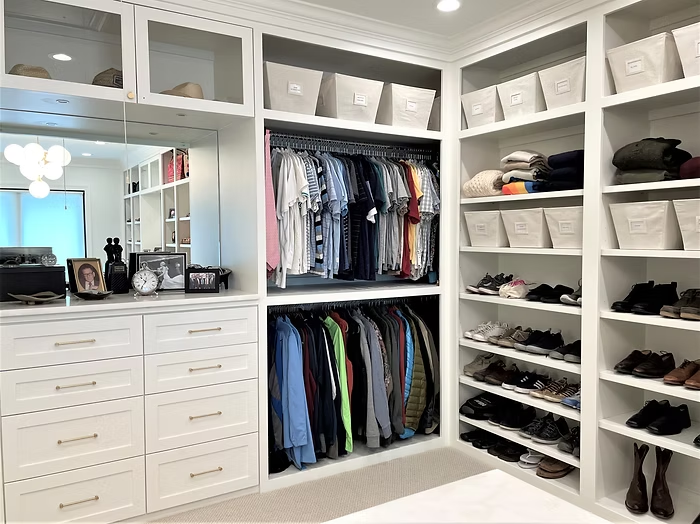
1. PRIORITIZE
The first step is to prioritize the spaces in your home that you want organized the most. Don’t expect to organize your whole home at once. Figure out what areas can most benefit from an organizational system right now.
Organization is a practice, not a project, and getting your home organized is a process you take one room at a time. Pick the room that bugs you the most, the one that causes the most daily friction, and start there!
2. PURGE
Once you have chosen the room, it is time for a major purge. I understand that some things are hard to part with, so keep what makes you happy! However, do keep in mind that it is not your responsibility to keep something just to make others feel better.
An organized home is a functional home that gives you peace of mind. While it will certainly include sentimental items, you will need to purge items that no longer serve their intended purpose. Easy places to start include anything broken, expired food, and outdated paperwork.
3. SORT
Now that you have purged the space, it is time to sort. You’ll take everything out of the area, and I mean EVERYTHING.
Next, put like items together. It is your space, so you get to choose how you define “like items.” If organizing a pantry, you can sort by food type (pasta, snacks, baking) or by person (especially if someone has specific dietary restrictions). Whatever works for your family in your current season of life is the perfect way to sort!
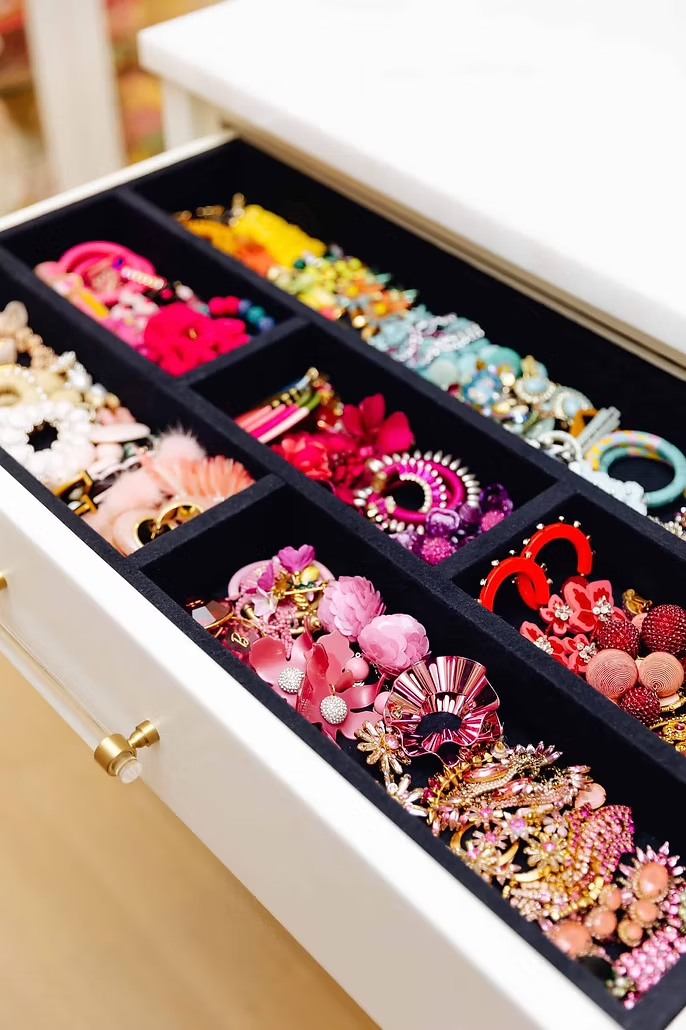
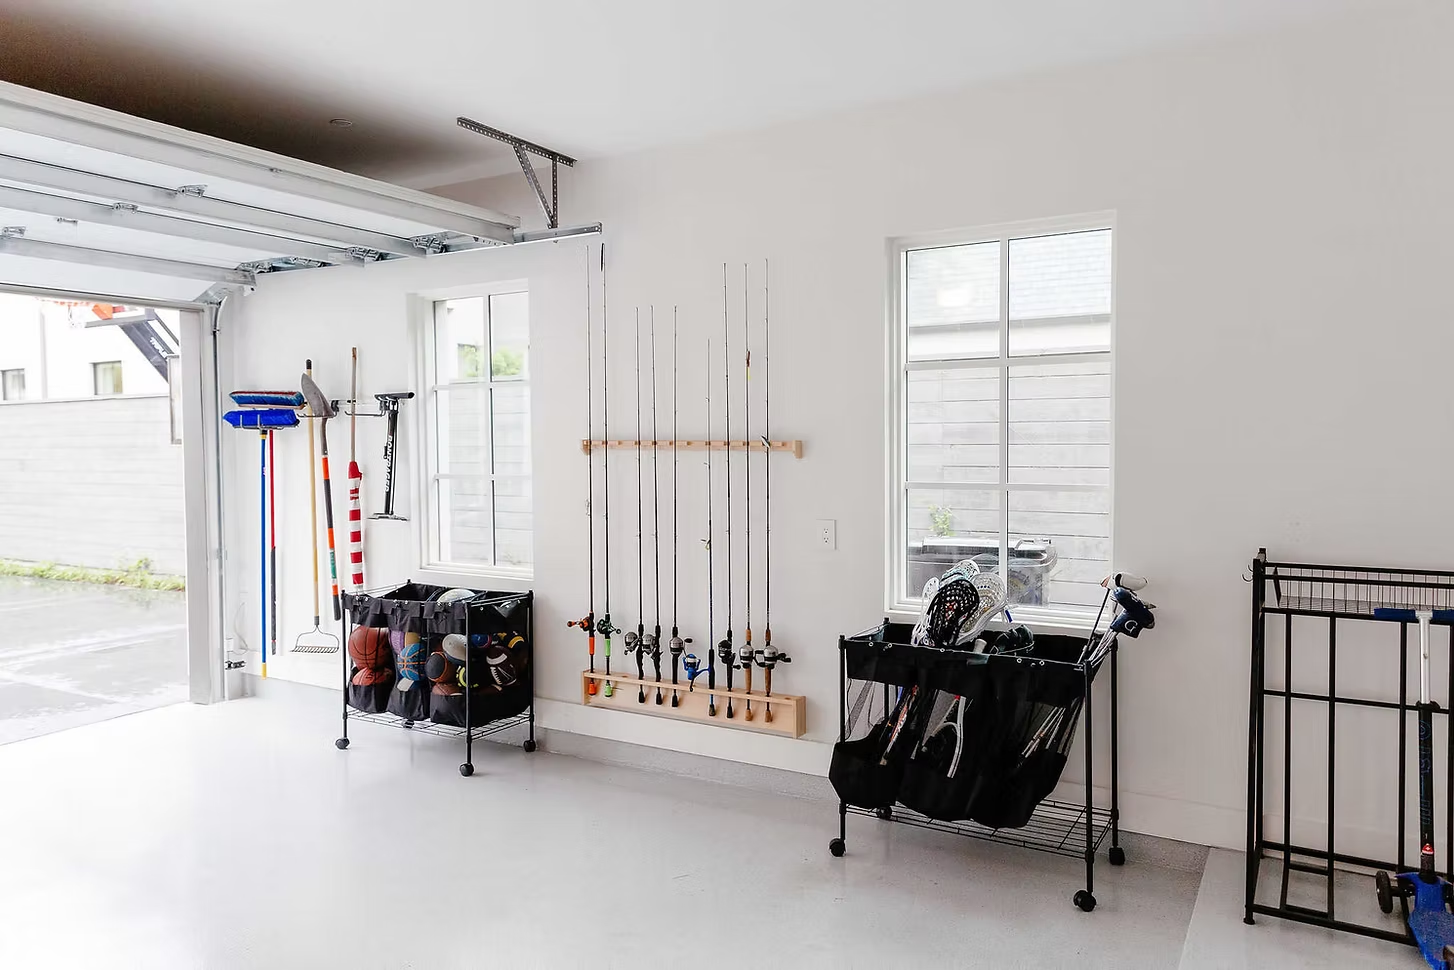
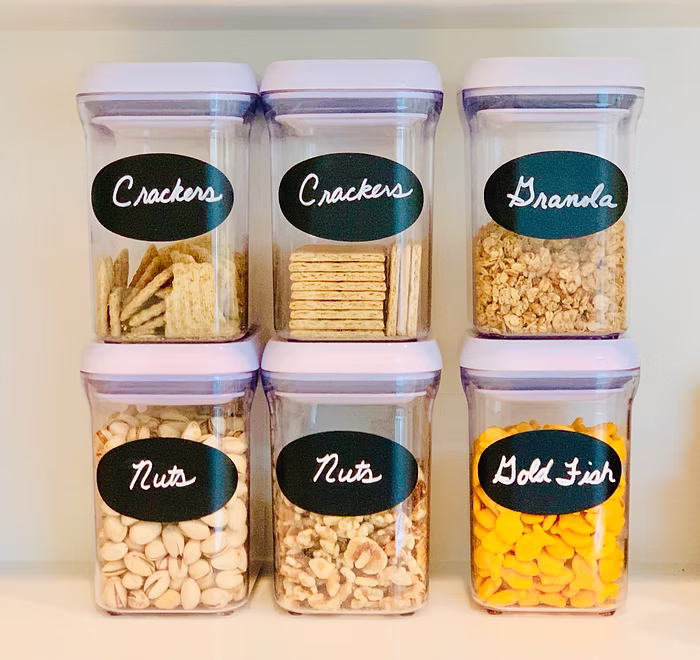
4. CONTAIN
Once you have everything sorted, you can see exactly which items need containers and determine what size is needed.
Pro Tip: Always measure the space where you will be placing the containers before you go shopping! We love using clear bins so that you can see exactly what is inside and how much is left at a single glance.
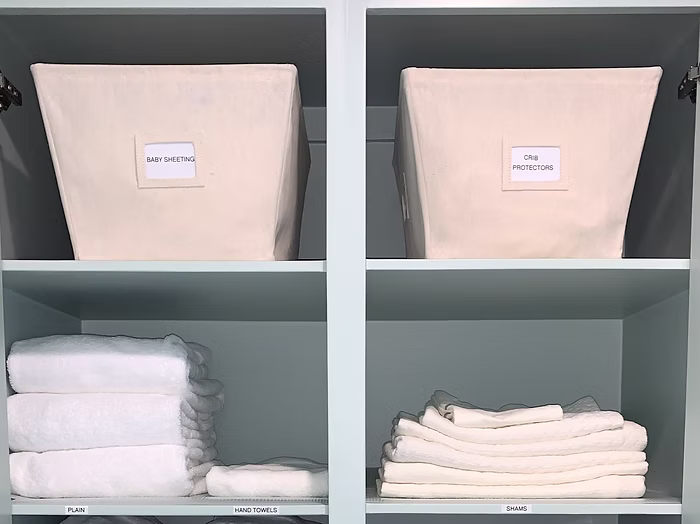
5. LABEL
The next step after filling the containers is to label them! There are many label options available now, from pre-made sets to custom vinyl. Find a style that matches your personal aesthetic and colors.
Using containers and labeling them is the absolute key to maintaining the system. It allows everyone in your home to see what goes where, which makes cleanup and restocking simple and easy!
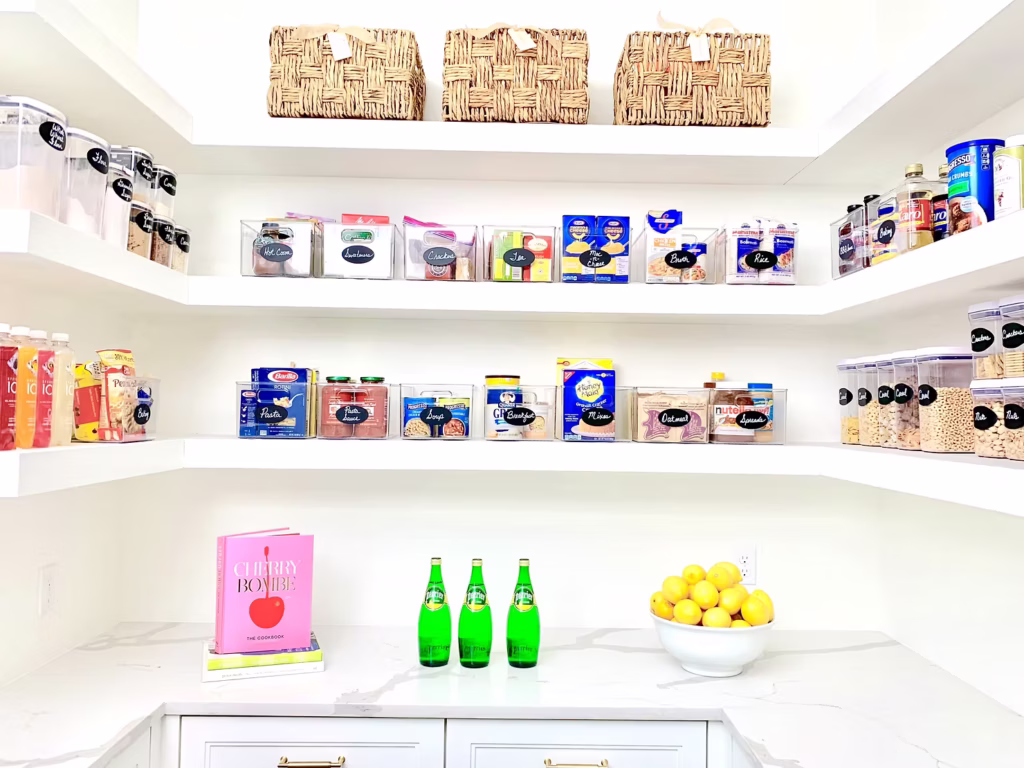
6. PUT IT BACK
Everything has been purged, sorted, contained, and labeled, now comes the fun part! You get to put it all back in place in a neat, orderly fashion. Fill those new containers, slide those bins onto the shelf, and then stand back to view your handiwork.
You can immediately see the results of your hard work. This is instant gratification at its finest! Nothing feels better than making your home more functional, and the peace you feel will motivate you to continue your organizing journey.
Ready to Get it Done?
You now have the roadmap to tackle your first room on your own! It sounds simple, but we know that it takes significant time, as well as mental and physical energy, to see a project through to the finish line.
If you have a project that’s been abandoned, a whole house that needs a reset, or you want to surprise someone you love with the gift of a stress-free space, Getting it Done Organizing is here to help you cross the finish line.
Get in touch today and let’s figure out exactly how we can help you reclaim your home!